1.6 Automation - Quick start
3 min readCreate your first automation in 5 minutes
Automation lets Marcto run repeated work on a schedule, such as daily ad checks, weekly content plans, inventory reminders, or project reviews.
For your first automation, choose a task where the result is easy to review and does not directly affect customers. Start by generating a report or reminder, then add channels or human confirmation after the output is stable.
Step 1: Open Automation
Open Automation from the left navigation and select Create automation. If templates are available, start from a template. If nothing fits, create a blank task.
Good first templates:
- Daily ad anomaly check.
- Weekly content plan.
- Weekly project progress review.
- Inventory or order risk reminder.
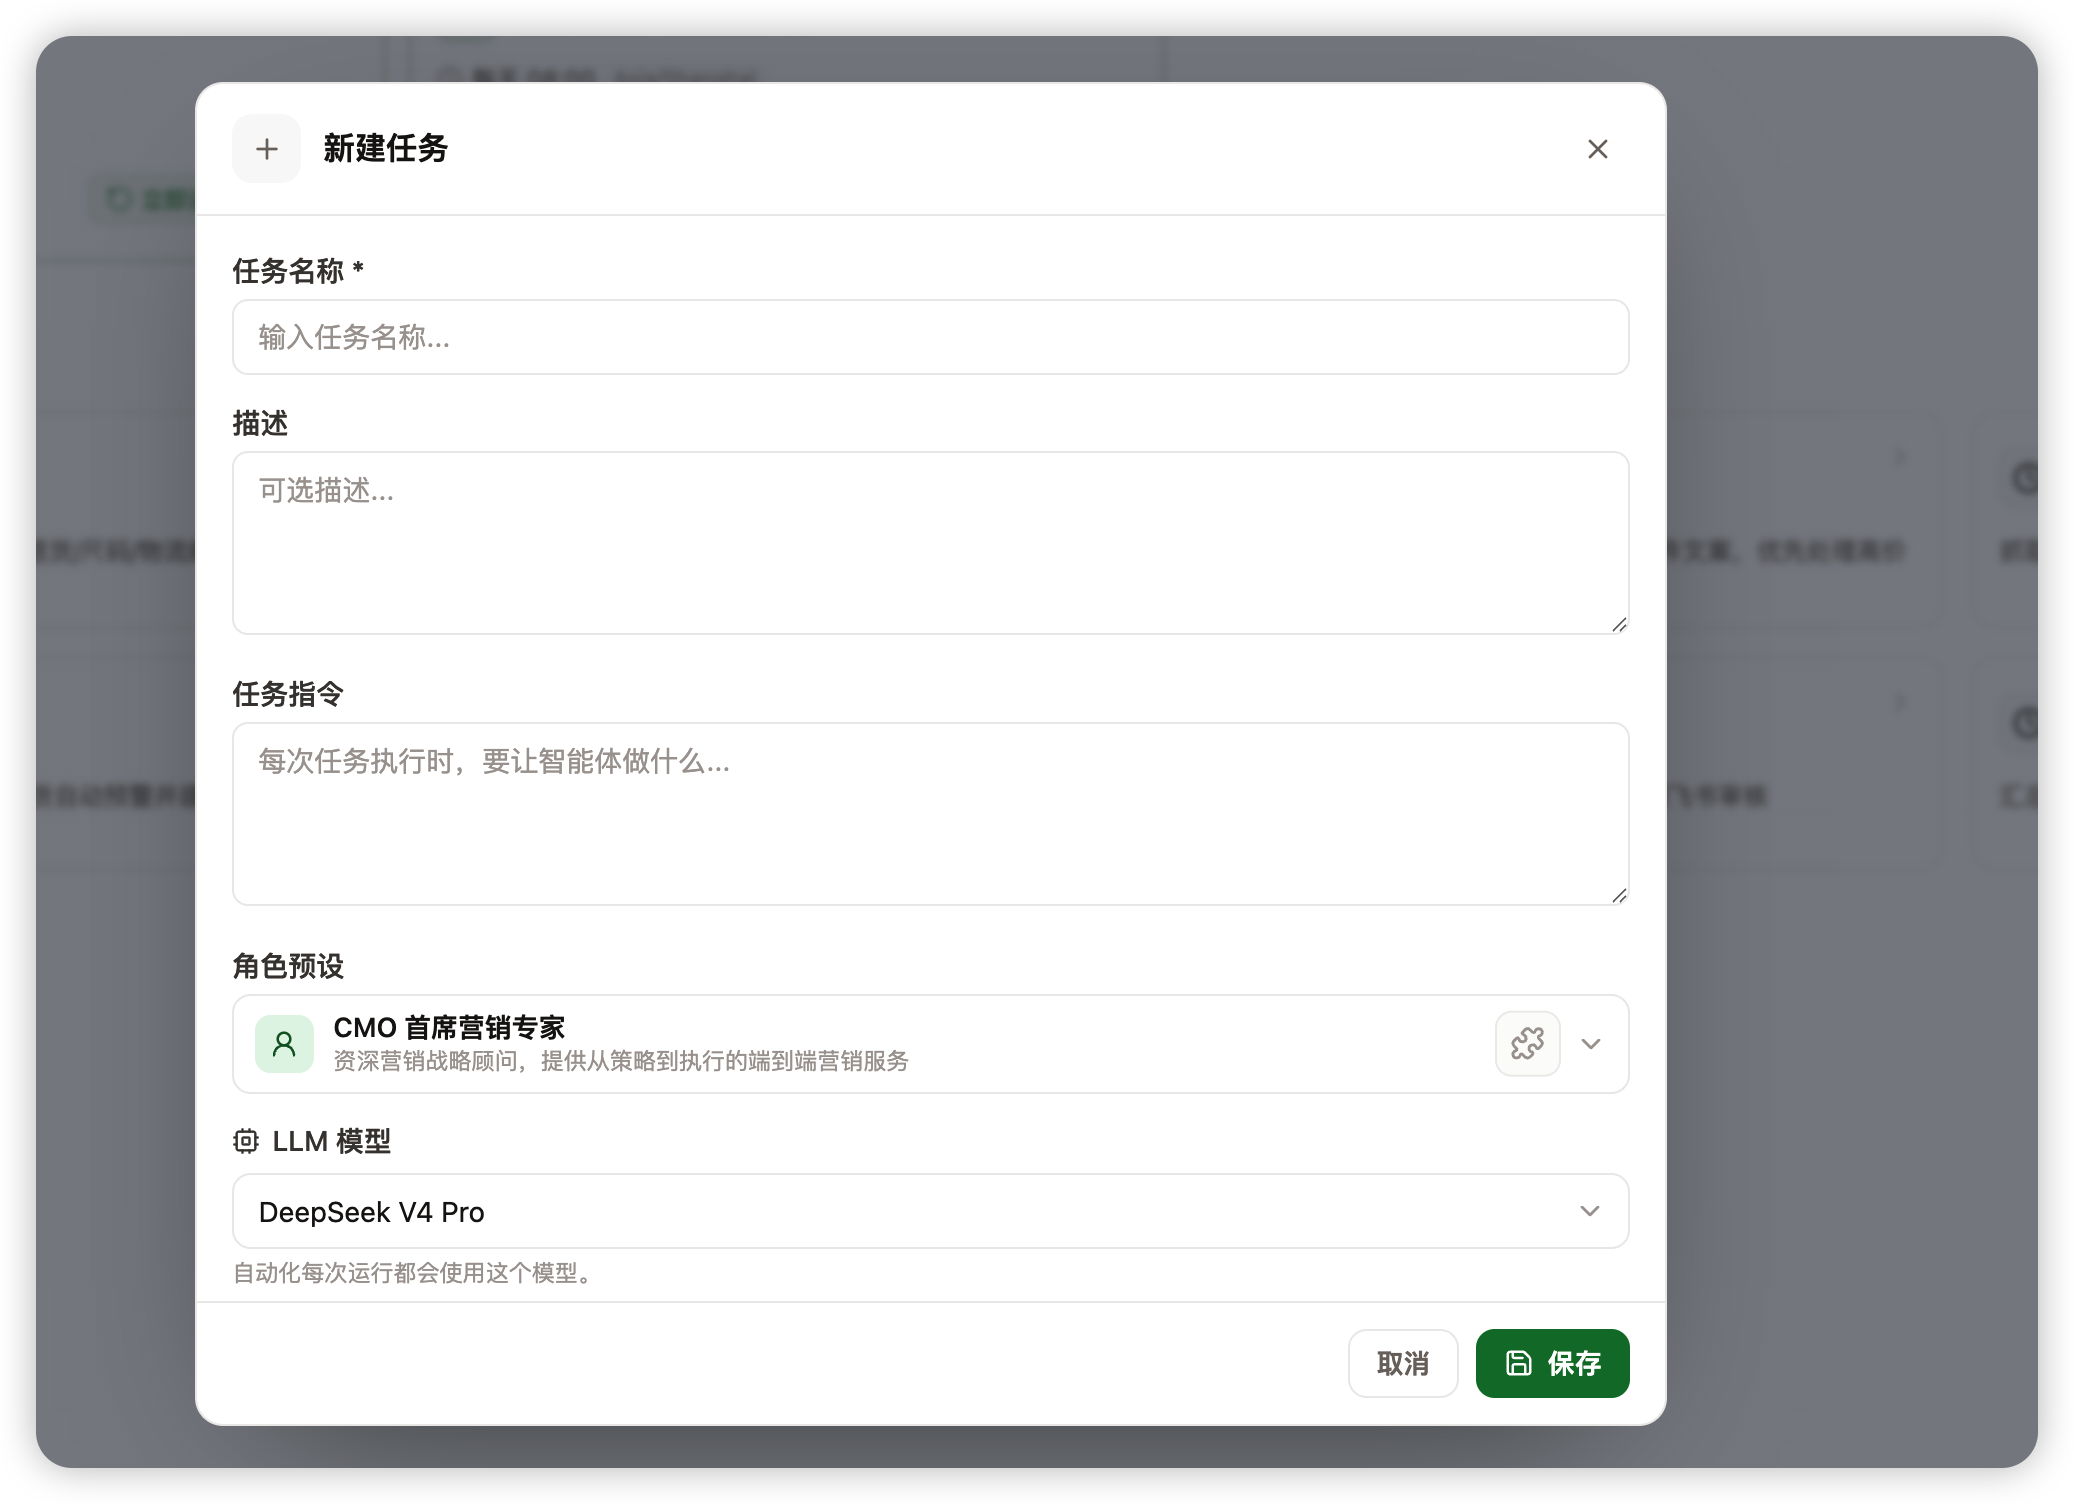
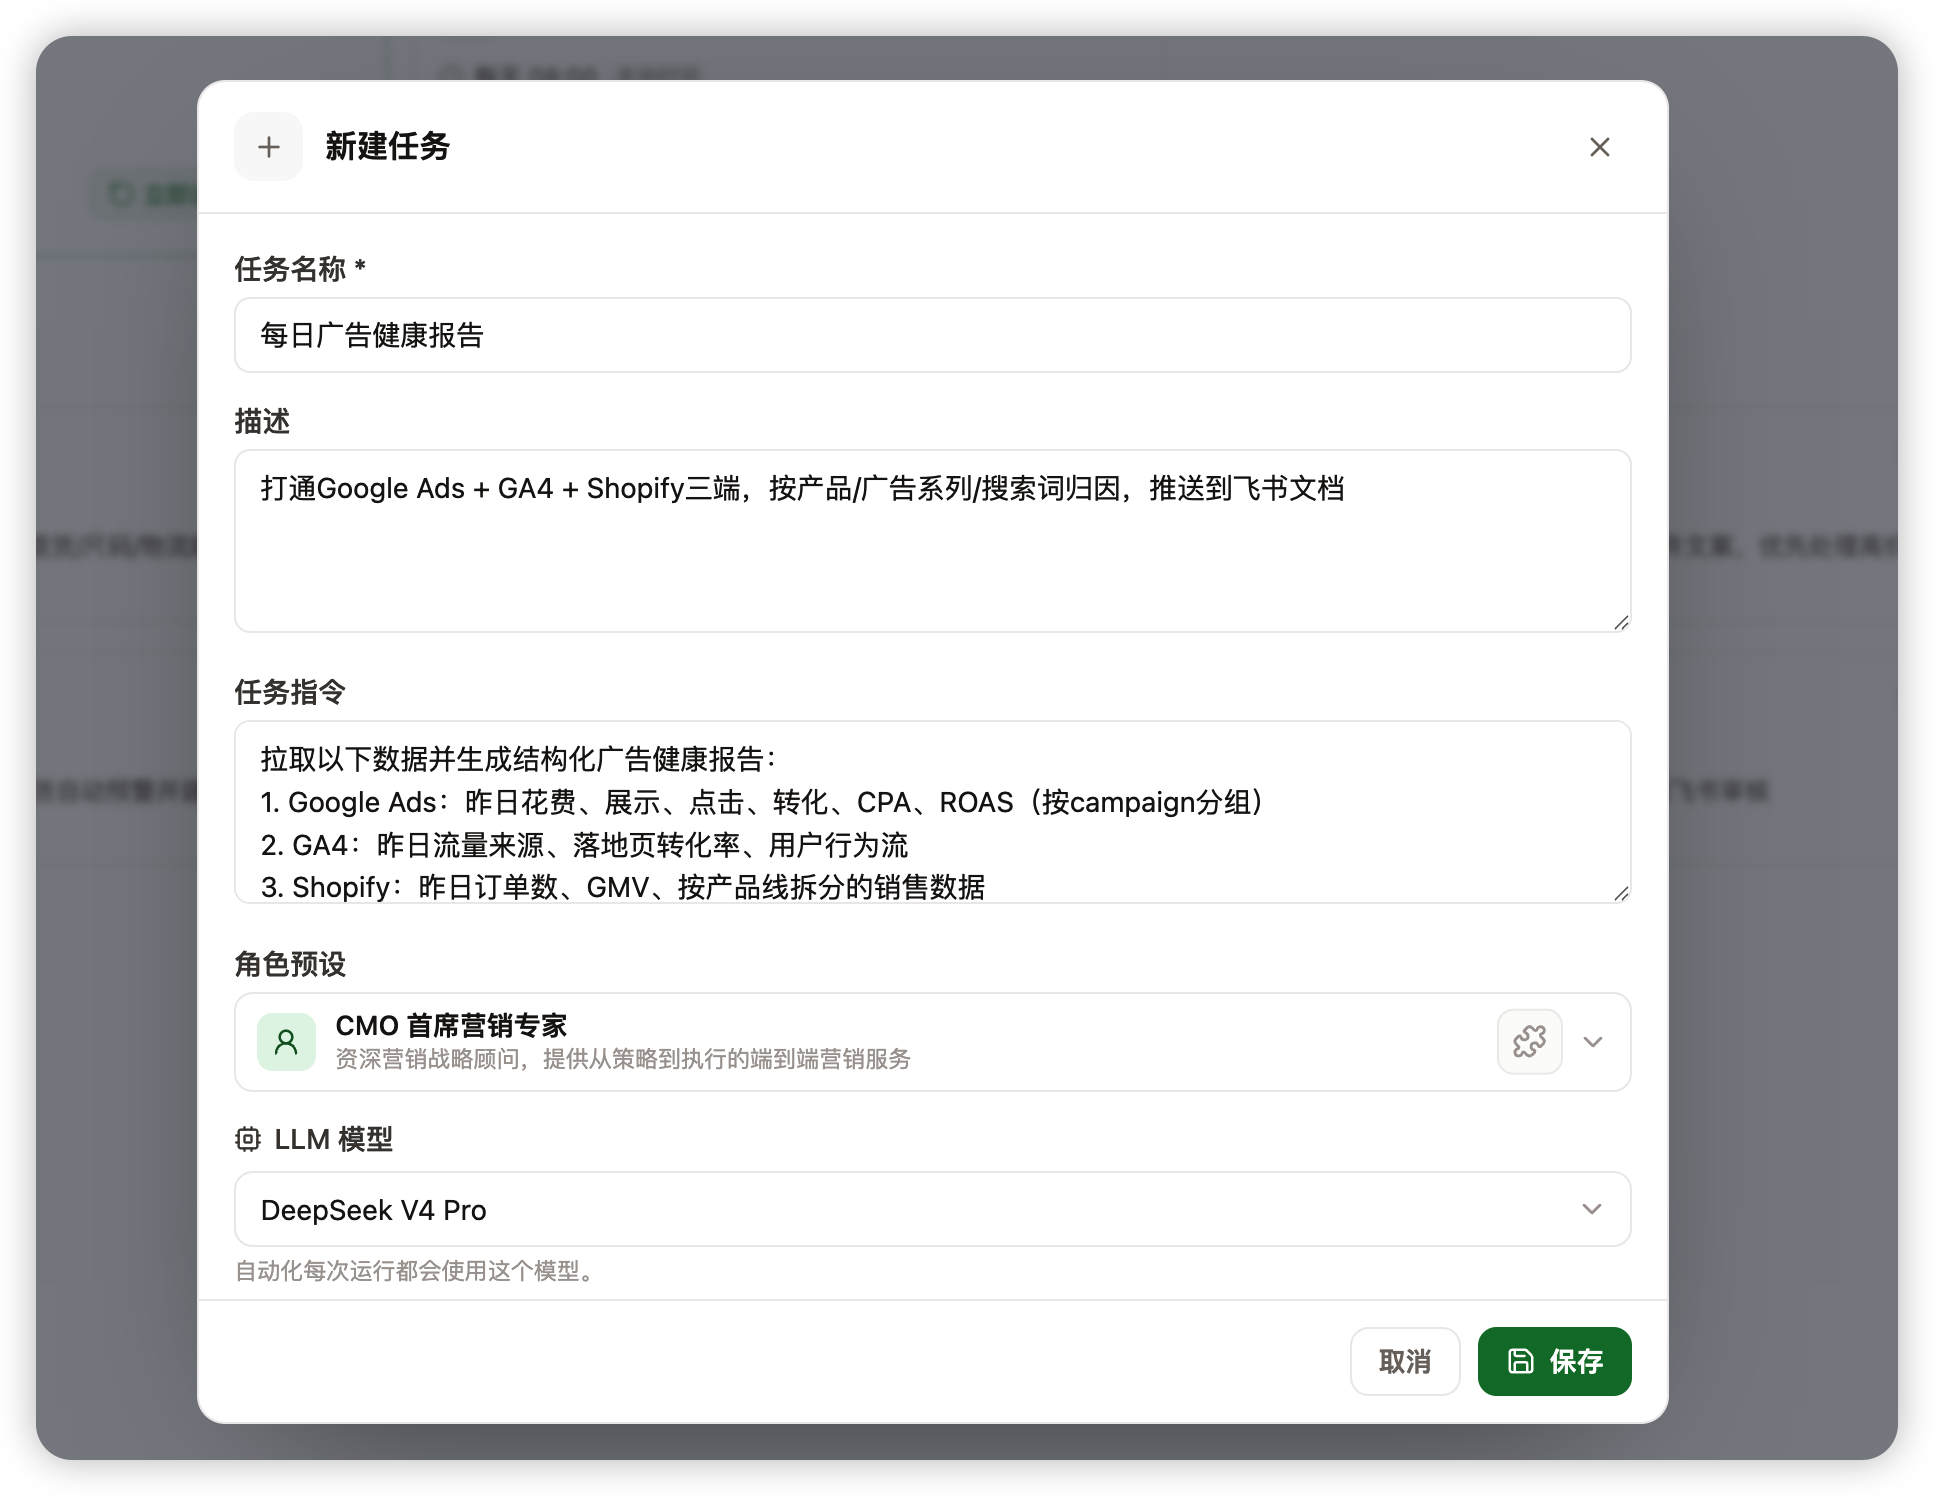
Step 2: Write a clear task brief
Automation quality mostly depends on how clear the brief is. Include four things:
| What to define | Example |
|---|---|
| What to review | Google Ads, orders, inventory, content plan |
| Scope | Brand, product, project, store, or date range |
| Output | Summary, issue list, recommendation, table, or reminder |
| Alert rules | CPA up 20%, inventory below 50, project delayed |
You can use this format:
Check yesterday's Google Ads data every day. Review spend, CTR, conversions, and CPA.
If CPA is 20% higher than the 7-day average, mark it as an issue and suggest the next action.
Output a short summary and an issue list.
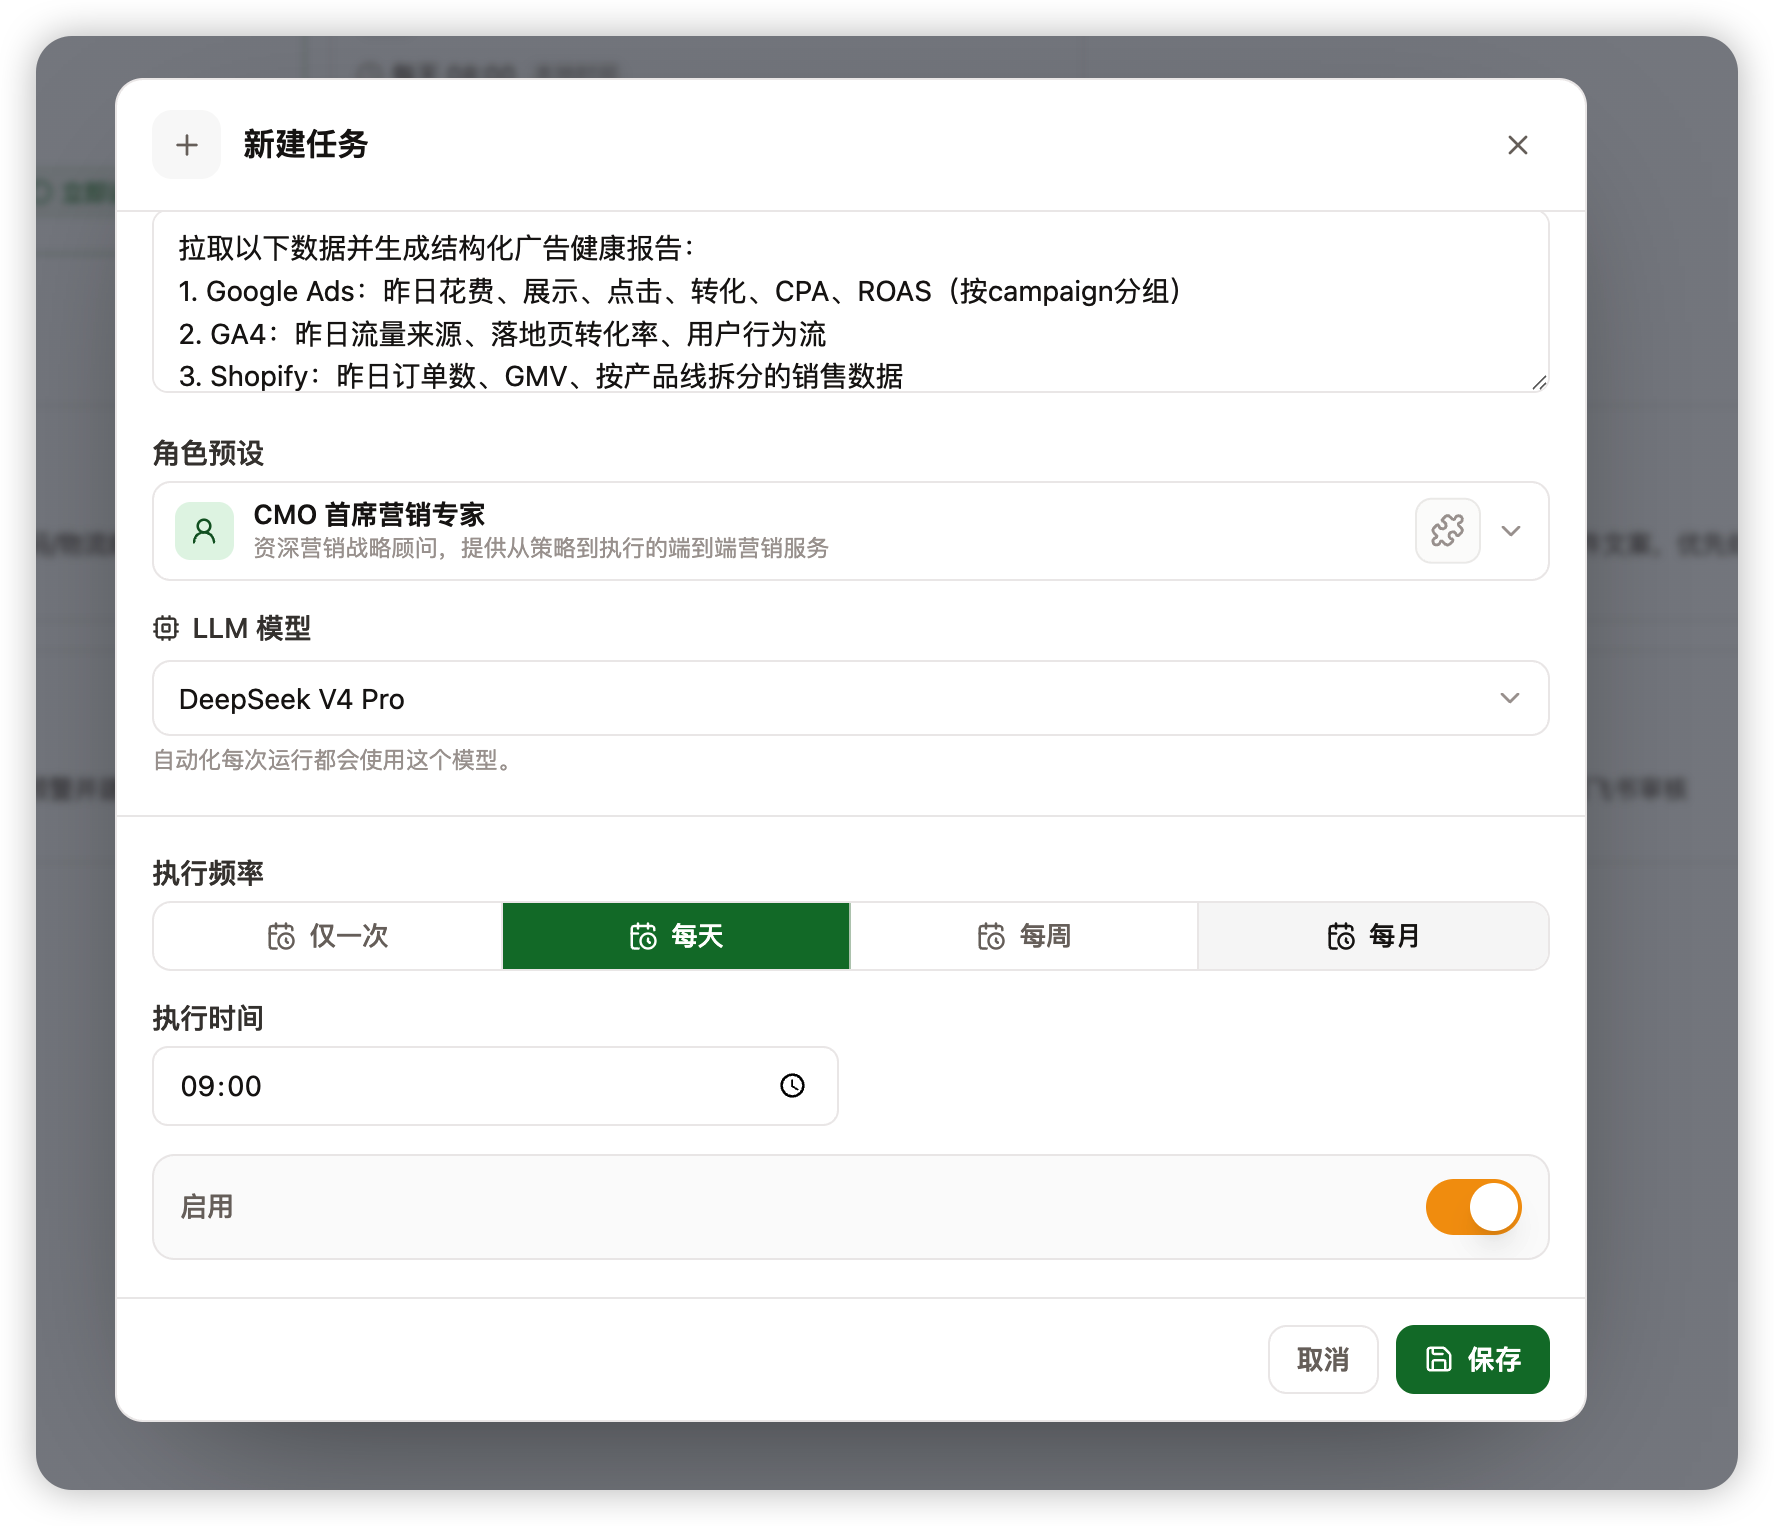
Step 3: Set the run time
Start with a low-noise schedule:
- Daily: ads, orders, inventory, and other operating checks.
- Weekly: content plans, project reviews, SEO checks.
- Monthly: business reviews, budget summaries, archives.
- Once: pre-launch checks or reminders for a specific date.
If you are unsure, start weekly. Increase the frequency after you confirm the result is useful.
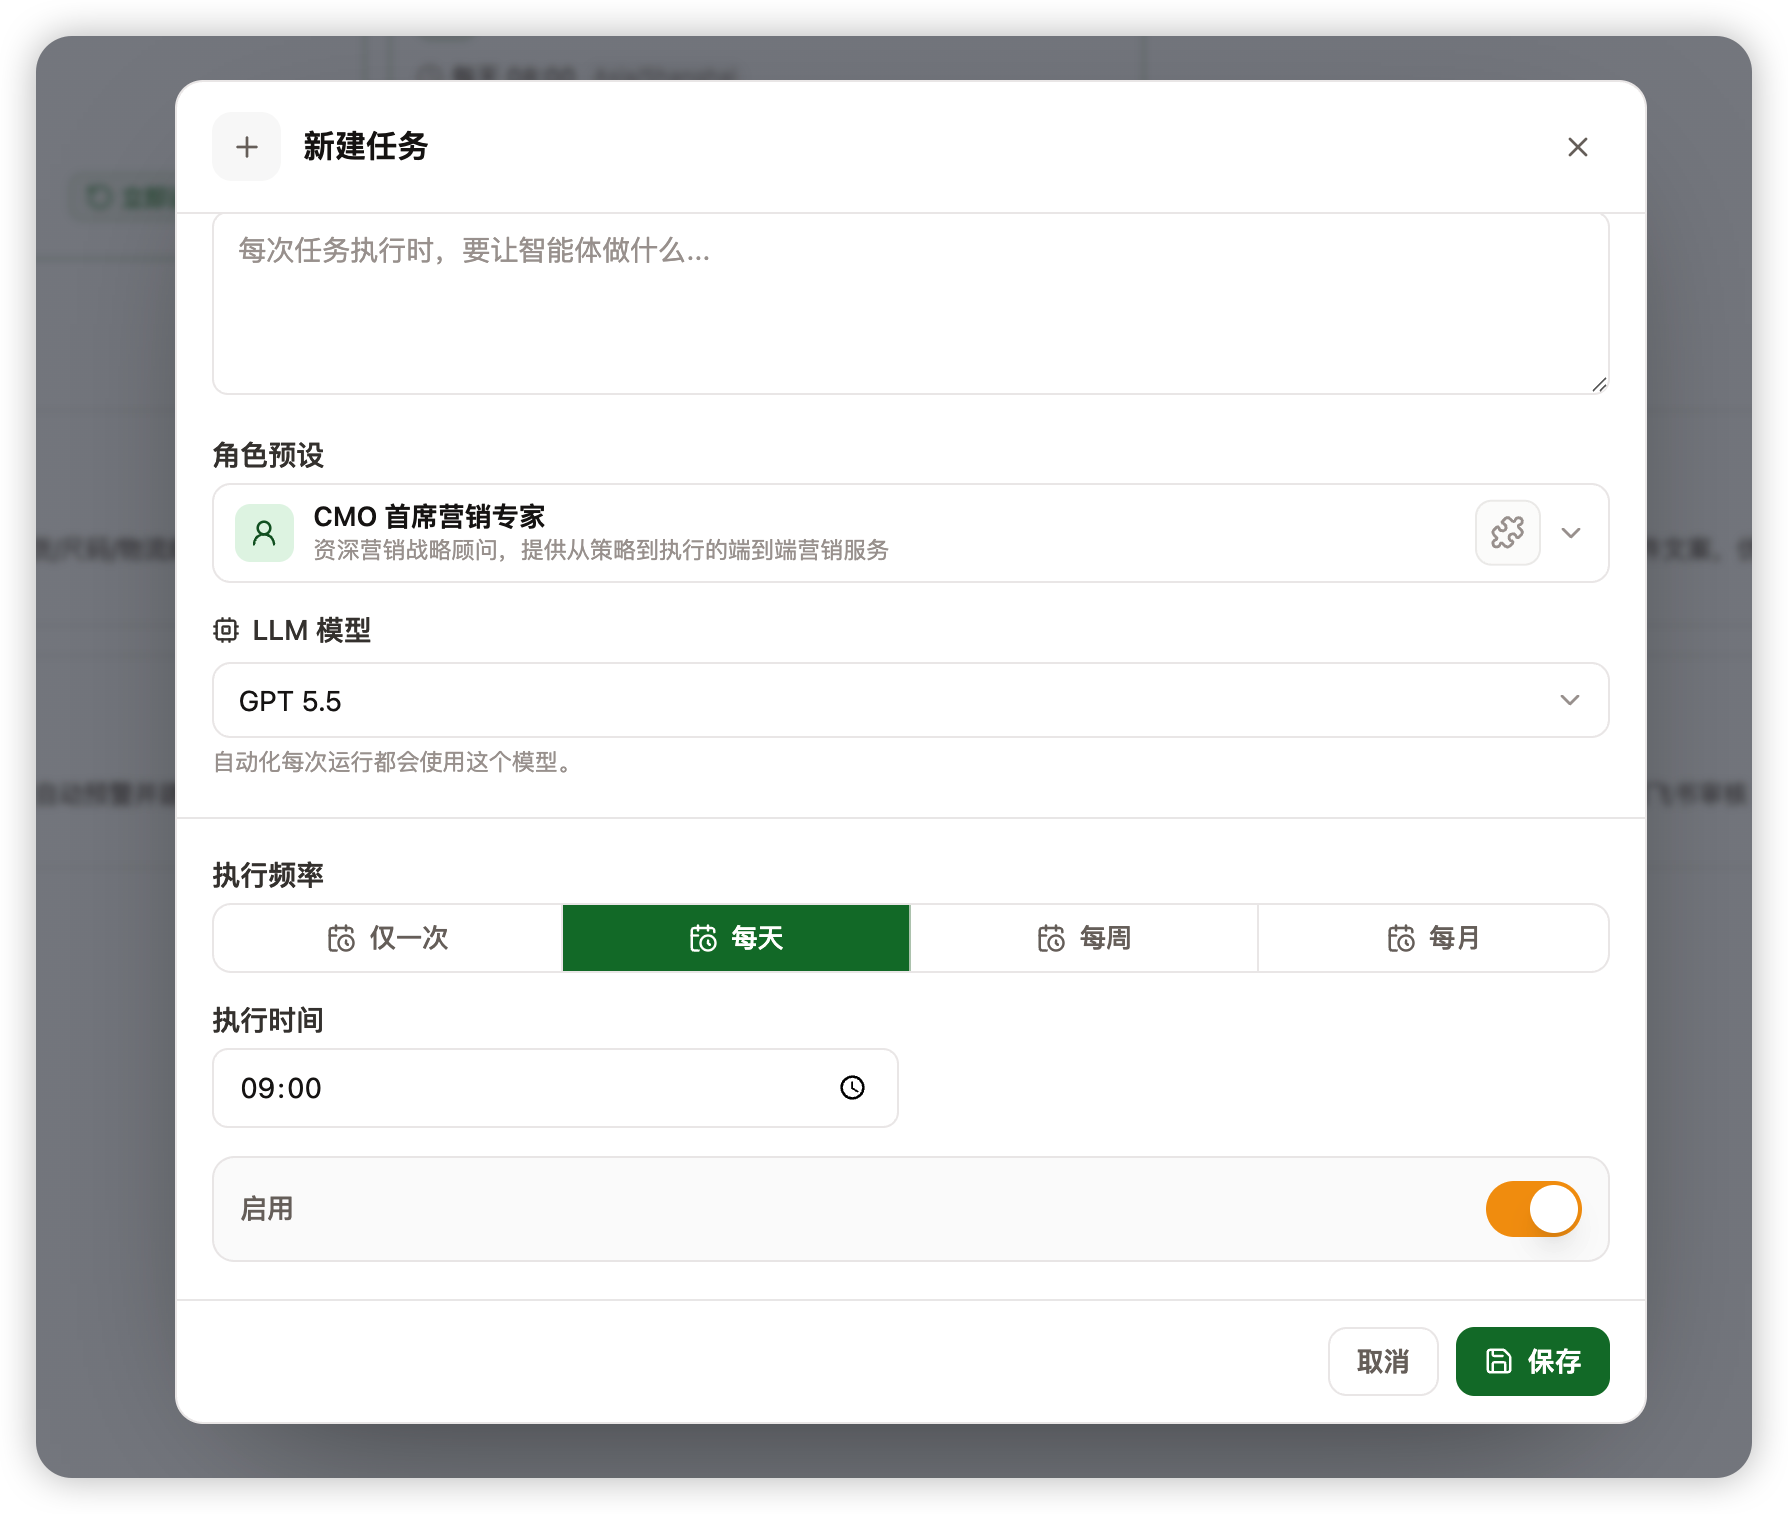
Step 4: Run it manually first
After saving, do not wait for the schedule. Select Run now or Test.
After the first run, check:
- Whether it succeeded.
- Whether it used the right brand, product, project, or connector data.
- Whether the output is short, clear, and actionable.
- Whether you need to add thresholds, date ranges, or output format.
If the result is wrong, update the task brief first, then run it again.
Step 5: Decide notifications and confirmation
After the result is stable, decide where it should go.
- Personal review: keep it in run history.
- Team sync: send it to Feishu or another message channel.
- Customer-facing, publishing, or outbound actions: use human confirmation.
To send results to a Feishu group, the automation needs two pieces of routing information:
- Which Feishu channel or bot instance to use.
- Which group conversation should receive the message.
A good workflow is to connect Feishu in Channels first, then send one test message in the target group. When you create the automation, write the task brief so the output is ready for that group, for example:
Generate an ad health report every morning at 9:00. Output a short summary suitable for the Feishu "Ad daily report" group:
1. Yesterday's key metric changes
2. Campaigns with anomalies
3. Next actions for the team
Note: the task brief tells the agent what to produce, but automatic delivery to Feishu requires a configured channel delivery target. Without a delivery target, the result stays in the run history and can be reviewed or copied manually.
For the first automation, generate results only. Avoid high-risk automatic actions until the workflow is proven.
First automation example
Create "Daily ad anomaly check":
- Task: review yesterday's ad spend, clicks, conversions, and CPA.
- Time: 9:00 every morning.
- Output: a short summary and an issue list.
- Notification: keep it private first, then send to a team group after it is stable.